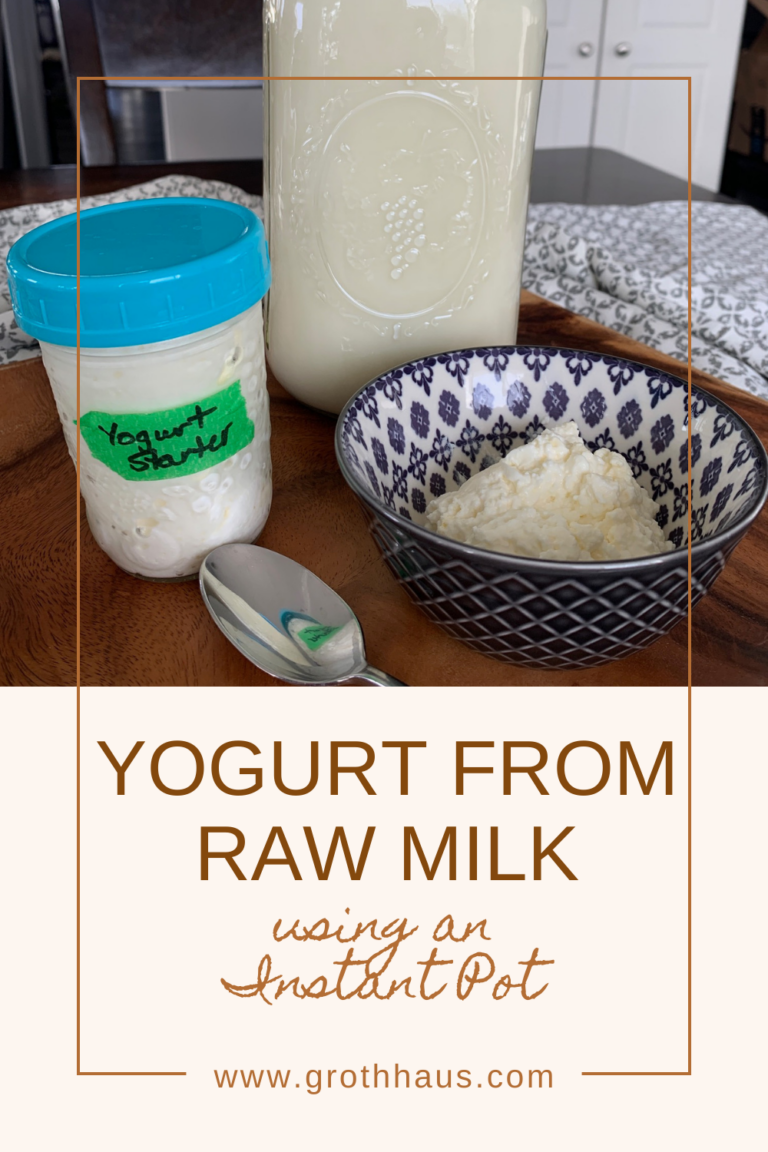
How to Make Raw Milk Butter using a Nutribullet Blender
One of the most exciting things about having our own family milk cow is being able to make fresh butter from raw cream. Here’s my quick and easy method for making fresh butter from raw cream.
What is butter?
Butter is an emulsion of the the fat solids in milk. I make butter churning cream which separates the fat and leaves a liquid called buttermilk. Butter is high in vitamin A and D and is a nutrient-dense food which is used for spreading on toast, frying, and in baking.
What is grass-fed butter?
Grass-fed butter is made with the cream from cows out on pasture eating grass and/or eating dried grass, known as hay. Additionally, it is renowned for being higher in vitamin A and vitamin K due to the grass diet. Therefore, when butter is made from raw milk from cows who have been grass-fed, this butter is the most nutrient dense butter you can feed your family!
How to skim the raw cream
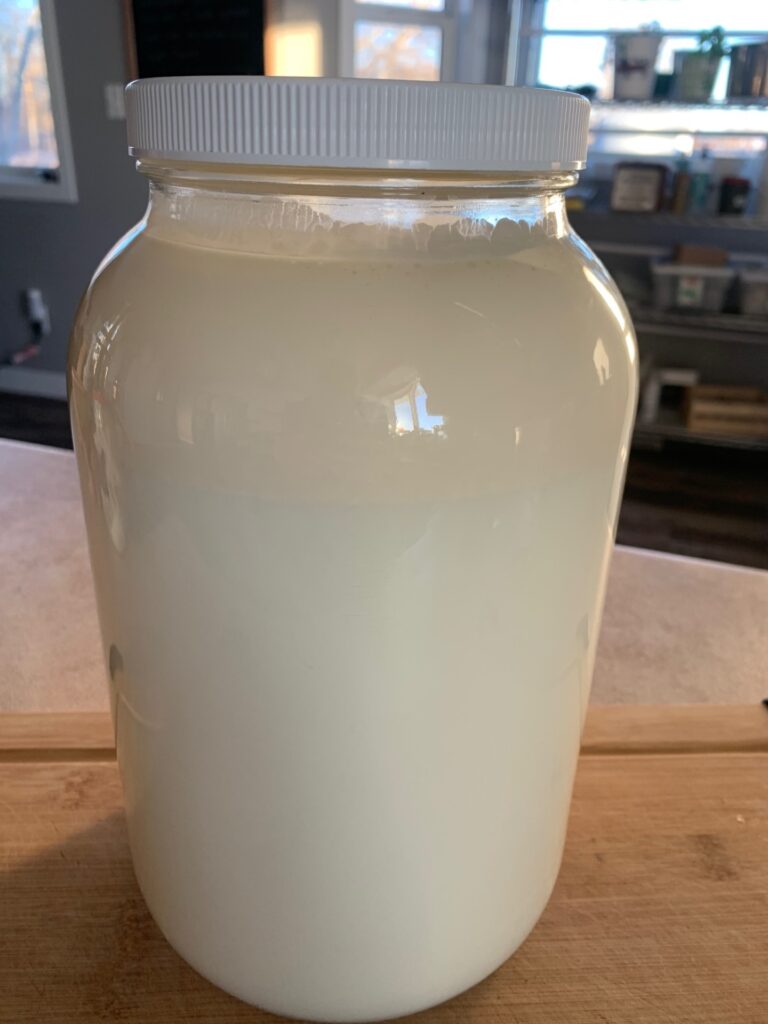
I store my raw milk in 4 litre glass jars and after 24 hours of refrigeration, the cream rises to the top. You can see the cream line in the photo above. I skim off that cream into a clean 500 ml (2 cup/pint) jar using a ladle. I usually leave a small cream line on top of the milk as my family doesn’t enjoy drinking skimmed milk.
Why I use a Nutribullet?
I could make butter, the old fashion way, using an old-fashioned hand butter churn. Likewise, I could put the cream in a canning jar and shake the jar for at least 15 minutes. Pass the jar around and let everyone have a turn. Shake, shake, shake! However, neither of these methods are fast. And I promised you quick and easy!
The slowest method I have found is using my Kitchenaid stand mixer. That takes over 30 minutes and with the cream spattering all over the place, it is very messy.
Homesteaders often have a lot on the go and so I love the Nutribullet method of making butter from raw milk because it is so quick (24 seconds in fact) and easy (clean up is a breeze!)

Is raw milk safe?
Yes and no. Handling raw milk requires requires consistent best practices that focus on cleanliness and temperature. It starts with milking. It is essential to be fastidious about cleaning your cow’s udder and teats, and using clean milking equipment. If cleanliness best practices are not used, contamination can happen. Especially because cows do poop and pee, sometimes even when milking. And they have hair. That falls out. Into the milk.
We use a portable milk machine to help prevent contamination. Conversely, homesteaders who choose to hand milk often use a small bucket to catch the milk so that if anything falls in the bucket they have less to dump out. With our machine, we have to ensure that the can, the claw, and the hoses are clean at all times. Super clean. Super, super clean.
I bring the warm milk into the house and, as quickly as possible, I filter and pour it into clean jars and I get those jars into the fridge as fast as possible. The goal is to get the get the milk down to 3 degrees Celsius, within one hour.
Keeping things clean for your own family milk cow is doable.
This is an excellent blog post about how to clean and milk your cow: https://youtu.be/xFV1O8-eLhk?si=lUjHudiG9K1H_8WQ
Raw milk is live milk
Raw milk is a live food that has naturally occurring, beneficial bacteria which has been proven to help promote gut health. When raw milk is left out at room temperature, the good bacteria (mainly lactic acid bacteria) will begin to spontaneously ferment the milk and, depending on the temperature of the room, the milk will turn into a mesophilic culture called clabber within 12-72 hours.
Historically many cultures have fermented their milk as a way to store the milk while traveling. Today clabbered milk continues to be an important part of many eastern Mediterranean diets.
For more information on traditional fermented milk products in Eastern Mediterranean countries, please see this site: https://www.sciencedirect.com/science/article/abs/pii/S0958694623001875
However, even fermented milk does not have a long shelf life. Raw milk and fermented milk stay good for about a week. Which is fine when you’re milking twice a day and have a steady supply of fresh milk. That’s not feasible in an urban setting. With pasteruization, milk can be stored on grocery store shelves and in the fridge for weeks.
The microbial communities in fermented milk are known to provide probiotic benefits which improve human health. Therefore, products made from Raw Milk like butter also contain the probiotic benefits from the lactic acid bacteria. Butter made from pasteurized milk is missing this nutritional benefit.
Pasteurization strips the milk from its naturally occurring vitamins and enzymes. Other nutrition benefits of raw milk is that it is high in Vitamin A, vitamin d and lauric acid.
To learn more about raw milk, visit this site: https://www.realmilk.com/
What is cultured butter?
Benefits of raw milk link
Homesteaders who want to increase the probiotics in their butter can further do so by culturing can do so by making cultured butter. The way to make cultured butter is by fermenting the raw cream prior to churning.
How much raw butter will I make?
It depends on the time of year, what the cow is eating, and where she is in her lactation cycle. On average, 2 cups of cream usually yields 1/4 lb of butter.
Equipment Needed
Nutribullet (or another kind of blender)
Stainless mesh steel strainer
Large bowl to catch the buttermilk
Spatula or wooden spoon
Ice cold tap water
Kitchen scale (optional)
Silicone butter molds (optional)
Good quality salt (Redmond’s sea salt)
Ingredients
- 2 cups heavy raw cream
- 1/4 tsp salt
Instructions

Place a 500 ml (2 cups) jar of raw cream on the counter until it reaches 16 degrees Celsius. 62F. Cold cream is harder to work with.

Put the cup onto the Nutribullet base and watch your cream turning into butter in about 22 seconds! First it will get thick, like whipped cream. Then, listen for the sound change, the butter fat clumps together and liquid separated from the fat. You’ll see the cloudy liquid sloshing in the cup.
Stop churning and remove the blades. You should see a clump of butter on the side and cloudy water at the bottom. If the butter is still grainy, churn for a few more seconds.

Put the strainer over the bowl. Pour the cup contents into the strainer. The bowl will capture the buttermilk. Pour the buttermilk into a jar and save for baking.

Bring the strainer to the sink and begin washing the butter by pouring ice cold tsp water over the butter. Use your hands or a spatula to move the butter around to rinse it thoroughly. This helps to rinse out any more buttermilk.

Once the wash water is clear, plop the butter into the empty bowl and start pushing the butter against the sides of the bowl to extract any remaining liquid. You can also knead the butter with your hands. Just keep your hands cold or the butter will start to melt.

Weigh your butter (optional). I like to form my butter into 1/2 cup or 4 oz blocks to make it easier for baking later.

Salt helps preserve your butter and brings out the flavour. I’m always looking for ways to add more trace minerals to my family’s diet, so I add 1/4 teaspoon of a good quality salt for 2 cups of cream. Salting your butter is optional.

Form butter into molds. Freeze and wrap in double plastic wrap. Put frozen butter into a Ziploc bag and date the bag. Frozen butter lasts a year.
Tips for storing raw butter
Fresh raw butter from raw milk will store at room temperature for 24 to 48 hours. Adding salt to the butter will improve its shelf life. Therefore, I recommend molding the butter into smaller portions for storage.
After I finish washing the butter, I press it into the silicone butter molds which are 1/4 cup (4 oz) size. Four of them equals one pound of butter. I bought them off Amazon.
Next, I freeze the molds, and once they are frozen, the butter is frozen I wrap the butter in two layers of plastic wrap and store it in a plastic Ziploc bag labelled with the date. This makes it easy for me to use first in, first out in my freezer.
Before I had these molds, I formed the butter into blocks by hand and wrapped them in plastic. The Amish people roll their butter into logs and wrap with parchment paper, twisting at each end.
You may notice that your fresh butter is harder than store-bought butter. This is because store-bought has a higher water context to make it easier to spread.
Keto tip: if you enjoy bulletproof coffee with butter, freeze the fresh raw butter into 1 Tablespoon dollops on a cookie sheet. Then just pop the frozen drops them into your coffee mug.
Herb butter: before you mold your 1/2 cup of butter, try adding some herbs to make a compound butter. Mix in 1/4 cup of chopped fresh herbs into the butter after salting. Basil butter is my favourite! Additionally, you can make garlic butter by adding 4-5 cloves of minced garlic. This makes an easy spread for garlic toast.
Where to buy raw cream
In some states, it is illegal to sell raw milk or cream. In others, consumers are able to purchase Raw Milk. Where I live, in Canada, the only way to have raw cream is to own your own family milk cow.
Uses for the buttermilk
The leftover buttermilk can be stored in the fridge for up to one week and can be used for drinking or baking. It is most popular in buttermilk, pancakes, muffins, and bread. You can also serve it to your animals or chickens or pour it on your compost.
Homemade Butter made from Raw Milk using a Nutribullet Blender
Quick and easy method for making butter from raw milk using a Nutribullet blender.
Ingredients
- 2 cups heavy raw cream
- 1/4 tsp salt
Instructions
- Place 500 ml (2 cups) of raw cream in a jar on the counter until it reaches 16 degrees Celsius. 62F. Cold cream is harder to work with.
- Once the cream reaches 16 degrees Celsius (62 F), pour it into the large Nutribullet bullet cup being sure to only fill the cup halfway. The large cup holds 750 ml (2.5 cups) so only pour 250 ml (1 cup) of cream in. This leaves room for the sloshing action, which is critical in butter making.
- Put the cup onto the Nutribullet base and watch your cream turning into butter in about 22 seconds! First it will get thick, like whipped cream. Then, listen for the sound change, the butter fat clumps together and liquid separates from the fat. You’ll see the cloudy liquid sloshing in the cup.
- Stop churning and remove the blades. You should see a clump of butter on the side and cloudy water at the bottom. If the butter is still grainy, churn for a few more seconds.
- Put the strainer over the bowl. Pour the cup contents into the strainer. The bowl will capture the buttermilk. Pour the buttermilk into a jar and save for baking.
- Bring the strainer to the sink and begin washing the butter by pouring ice cold tap water over the butter. Use your hands or a spatula to move the butter around to rinse it thoroughly. This helps to rinse out any more buttermilk.
- Once the wash water is clear, plop the butter into the empty bowl and start pushing the butter against the sides of the bowl to extract any remaining liquid. You can also knead the butter with your hands. Just keep your hands cold or the butter will start to melt.
- Weigh your butter (optional). I like to form my butter into 1/2 cup or 4 oz blocks to make it easier for baking later.
- Salt helps preserve your butter and brings out the flavour. I’m always looking for ways to add more trace minerals to my family’s diet, so I add 1/4 teaspoon of a good quality salt for 2 cups of cream or 1/2 cup of finished butter. Salting your butter is optional.
- Form butter into molds. Freeze and wrap in double plastic wrap. Put frozen butter into a Ziploc bag and date the bag. Frozen butter lasts a year.
Please comment below and let me know what your family thought of your homemade butter made from raw milk.