How to Start Pepper Seedlings the Easy Way
Our family loves eating fresh peppers during the summer months as well as enjoying preserved pepper products throughout the winter. Growing your own peppers is rewarding and allows you to offer healthier produce on your dinner table. Whether you are a seasoned gardener or a just beginning your food growing journey, here are my easy steps to starting pepper seedlings in February.
What are peppers?
Peppers are a hot weather fruit grown in the summer. They come in two varieties: sweet peppers like bell peppers and hot peppers such as jalapenos. They are red, orange or green. Pepper seeds take anywhere from 14-21 days to germinate and take a total of 68 days to maturity. Peppers are happiest and will bear fruit when the temperature is 18C – 26C (65F – 80F).
Why grow peppers?
As a Canadian homesteader, three reasons I grow my own peppers are:
- Pepper are costly to buy at the store
- Pepper in the store have often been sprayed with a wax to preserve them
- They lack the taste of a fresh pepper.
At Groth Haus Homesteading we strive to eat as much organically grown food as possible (to avoid pesticides, herbicides, and waxes). As well, we want to reduce our grocery bill by growing the majority of the food our family eats in a year.
Choose seeds based on your favourites
First, choose your seeds based on which varieties your family likes to eat. For example, we love eating cowboy candy throughout the winter. Preserving enough for a whole family for the whole winter takes a lot of jalapeño peppers so I make sure I grow at least six jalapeño plants per season. We eat jars and jars of salsa, so I plan for 6 red pepper plants and 6 orange or yellow peppers. We aren’t that fond of green peppers, so I don’t plant them.
When looking for seeds, I also like to focus on two other criteria: days to mature, and whether they are hybrid seeds or not.
I live in central Alberta where the growing season is only from end of May until the beginning of September, so I often look for seed varieties with “early” in the name. This is especially important for crops which have a longer time to maturity like peppers, tomatoes, and corn. However, early varieties can also be hybrids, which I avoid.
Open Pollinated or Hybrid Seeds: Which one is for you?
West Coast Seeds has an excellent article discussing the difference between open pollinated and hybrid seeds.
If you’re like me and want free seedlings next year, you’ll want to choose open pollinated seeds this year so you can save seeds for replanting next year. I also find that open pollinated, which are sometimes referred to as heirloom varieties, often have more flavour.
Seeds can be purchased online or at most garden centers. Read the packages carefully to know what you are buying.
How many seeds do you need?
When calculating how many seed packets to buy, start by looking at how many seeds are in a package. For example, California Wonder contains approximately 38 seeds. The package also says that 65% of the seeds will germinate. With that information, I know I have to plant about 2 seeds for every plant I want to grow.
Tip: sign up for emails from a few seed companies and you’ll be notified of their sales. A lot of online providers will offer an early-bird discount of 10% when you order in January. This is another great way to save money.
Beginning keeping good records today
If you kept planting records last year, refer to that to see how many plants you grew. Do you need more, less, or different varieties? Did you preserve any peppers last year either by canning, dehydrating, or freezing? If so, what did you eat? What do you have left? That will help you know what to plan for this year’s harvest.
Keeping records will help your get better and better at this. If you’re just getting started, do a best guess as to how many peppers you’ll need for fresh eating and for preserving for the whole year.
Tip: an easy way to keep planting records is to take a free calendar (the kinds that banks and other business give out) and write your notes on it.
Days to mature: why we start pepper seedlings indoors
One of my seed choices is the Jalapeno M variety which takes 70 days to mature. Where I live, if I were to sow these pepper seeds outdoors at the end of May, they would not mature and bear fruit before my first frost in September. So, I germinate the seeds indoors and pamper the little babies until it gets warm enough to go outside.
Average Last Frost Date
You may hear a lot of talk about what gardening zone people live in. These are Plant Hardiness zones meant to help gardeners determine which perennial plant species to grow for their area. This would include fruit trees, berries and crops like rhubarb and asparagus.
Peppers and most garden crops are annuals and, therefore, we don’t go by hardiness zones for planting. Instead, we look at our average last frost date and the days to maturity on the seed package. Starting seeds indoors is an excellent way to extend my short growing season.
Where I live, in central Alberta, my average last frost date is May 20 (zone 9). However, I have had a killing frost as late as May 30. So I use May 31 (zone 10). This means I wait until May 31 to transplant my pepper seedlings outdoors.
Peppers need plenty of time to mature before they will bloom and set fruit. Most seed packets recommend starting indoors six to eight weeks before the last frost date, however I have found that mine plants need 14 weeks. Therefore, to determine when you plant the seeds, I work backwards, 12 weeks from May 31, bringing me to Feb 23 as my planting date.
Equipment needed:
- Large Rubbermaid tote to mix seedling soil in
- Coco Coir brick
- Bag of Organic, sterile, potting soil or compost
- Perlite (optional)
- Bone Meal (optional)
- Calendar or spreadsheet to record seeding dates and varieties
- Trays without holes (to put the pots in)
- Solo cups (to use as pots) I punch holes in the bottom to allow for drainage
- Gloves (optional)
- Hori Hori Knife (optional)
- Clear plastic domes (not shown) to put on top of the trays to make a greenhouse effect
- Seedling heat mat (optional by recommended)

When I decided to expand my garden and seed more plants in the spring, I also decided that it was worth a little to invest in good infrastructure as I would be doing this for years to come and the return on the investment would be worth it. So, I recommend buying the best trays and pots you can afford. The flimsy ones will break after a couple of years, but the firmer ones are more expensive. For peppers, I prefer to start them in the Solo cups rather than the smaller starter cells. This allows me to skip a transplanting step which saves me a ton of time.
You’ll also want to invest in some type of shelving system with lights. But you don’t need lights for a couple of weeks, so let’s get started on the seedlings.
Seed starting soil
Seeds are amazing. They are created with all the nutrients they need for the first two weeks after germination. All they need is water. So you can plant them in a mix with very little soil. In fact, most store-bought seed starting soil doesn’t contain any soil at all! It is mainly made from peat moss. It is also usually quite costly.
However, I’m going to teach you how to save money by making your own seed starting soil that also saves you time by skipping a transplanting step!
My easy soil mix requires a coconut coir block and a bag of compost or potting soil. The Spruce has an excellent article on the advantages of coconut coir.
You do not want to use garden soil or compost from the outdoors. That soil has microbes, seeds, fungus, and insect eggs in it. Those components are wonderful for outside as it makes for great biodiversity, but it is a very bad idea for indoor gardening. So, you always want to use a sterilized soil for your indoor planting.

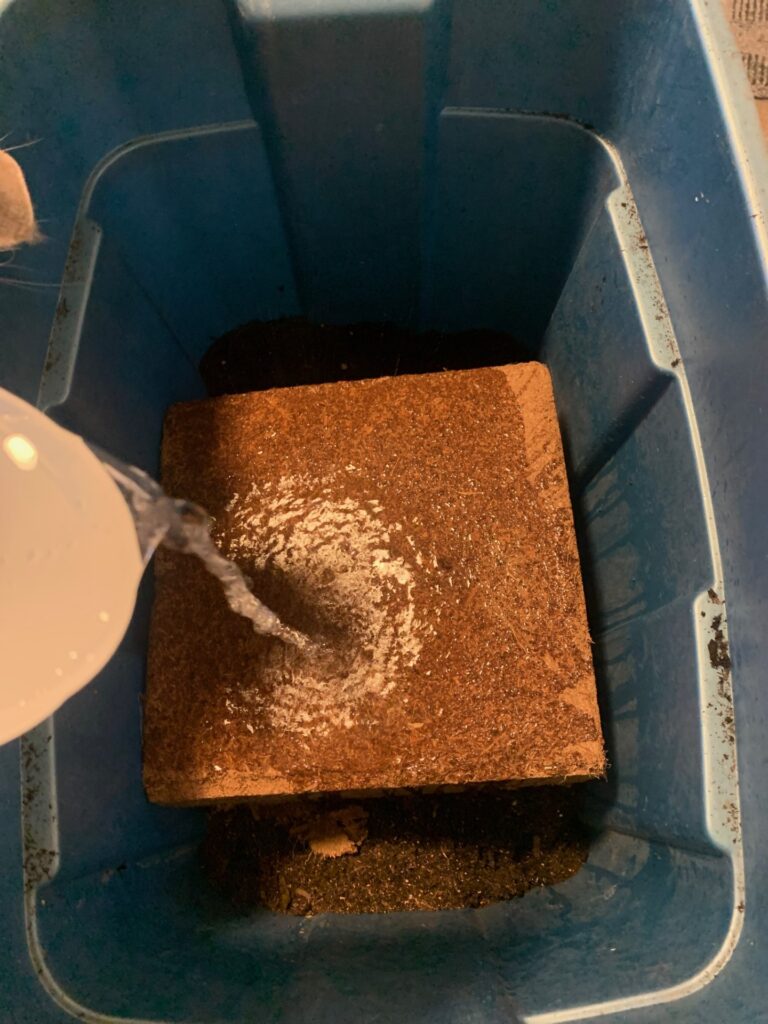
I like mixing my seedling soil in a large Rubbermaid tote. First, add the coconut coir and soak with water as per the label’s instructions. Break up the outer parts, add more water to reconstitute it, and when the entire brick has crumbled, add the soil/compost. I like my basic seedling mix to be around 75% coconut coir and 25% organic potting mix.
To my basic seedling mix, I like to add 5% perlite to make the mix even lighter and have more ability to hold water. Again we’re not going for a soil mix that is full of nutrition. We want to mix that is light, holds moisture, and is easy for those little seedlings to push through to the top of the soil.
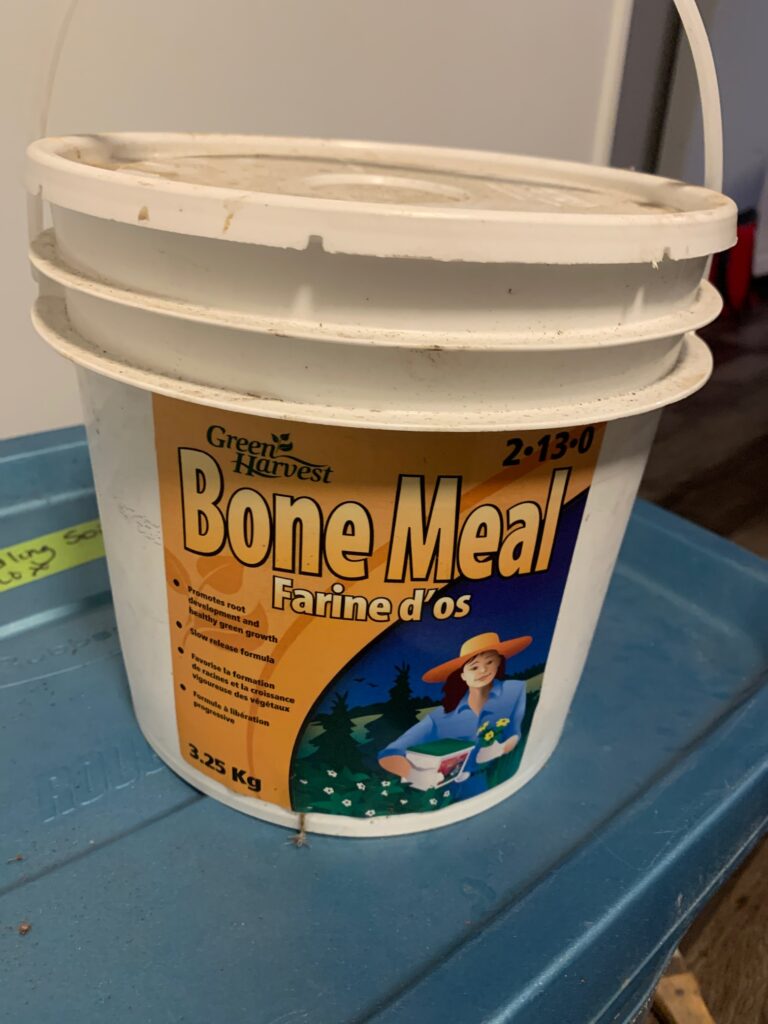
Finally, because I am skipping a transplanting step, I like to take Jeff at Ripe Tomato Farms tip to add a cup or two of bone meal to the mix to give those little roots an extra boost. This also buys me a bit more time between when the true leaves form and when and when I have to transplant the babies them into bigger pots.

Mix all the ingredients together using a Hori Hori garden knife (my favourite garden tool) or by hand. Make sure the mix is moist before filling the pots.
Pepper seedlings: the easy steps to starting
- Fill the Solo cups to about 1/4 ” from the brim with your homemade seed starting mix (remember to ensure the soil is moist).
- Poke a hole in the soil about 5mm-1cm (¼-½”) deep.
- Drop one pepper seed in the hole.
- Pinch soil to cover the seed.
- Because we know that the germination rate is 65% for this pepper seed, we will plant double the number of plants we need. For me, I want to end up with 6 jalapenos, 6 red, and 6 orange. So I planted 12 of each for a total of 36 pepper plants. If I end up with too many, that’s ok. I can give them as gifts to my friends who didn’t get their peppers planted early enough.
- Water the seeds. I use an old dish soap bottle for watering my seedlings.
- Keep soil as warm as possible. I use a seedling heating mat to warm the soil as it speeds germination. As per the package instructions, try to keep seedlings at 18-24°C (64-75°F) in the day, and 16-18°C (61-64°F) at night.
- Pour some water in the bottom of the tray. This is how you will water the plants from now on. From the bottom, not the top.
- Cover with the clear plastic dome. This helps retain moisture and heat. (Once you see germination, remove the dome and the heating mat).
- Go record the date and the varieties you planted today.

Poke a hole in the soil about 5mm-1cm (¼-½”) deep.

Drop one pepper seed in the hole.
Because we know that the germination rate is 65% for these pepper seeds, we will plant double the number of plants we need. For me, I want to end up with 6 jalapenos, 6 red, and 6 orange pepper plants. So, I planted 12 of each for a total of 36 pepper plants. If I end up with too many, that’s ok. I can give them as gifts to my friends who didn’t get their peppers planted early enough.
Pinch soil to cover the seed.

Water the seeds. I use an old dish soap bottle for watering my seedlings.

Keep soil as warm as possible. I use a seedling heating mat to warm the soil as it speeds germination. As per the package instructions, try to keep seedlings at 18-24°C (64-75°F) in the day, and 16-18°C (61-64°F) at night.
Pour some water in the bottom of the tray. This is how you will water the plants from now on. From the bottom, not the top.
Cover with the clear plastic dome. This helps retain moisture and heat.
I place my trays on my seedling shelf right away with the heat mat underneath them. However, until the seeds germinate and the little sprout breaks through the soil, they don’t need light. So you can keep the trays anywhere where it is warm. Right now, heat is more important than light.

Go record the date and the varieties you planted today.
In about 14-21 days, you’ll notice the pepper sprouts breaking through the seedling mix. At this point, remove the dome and turn on the lights. You did it! You started pepper seedlings!
Pepper Seedlings: The Easy Way to Start Peppers
Our family loves eating fresh peppers during the summer months as well
as enjoying preserved pepper products throughout the winter. Growing
your own peppers is rewarding and allows you to offer healthier produce
on your dinner table. Whether you are a seasoned gardener or a just
beginning your food growing journey, here are my easy steps to starting
pepper seedlings in February.
Materials
- Large Rubbermaid tote to mix seedling soil in
- Coco Coir brick
- Bag of Organic, sterile, potting soil or compost
- Perlite (optional)
- Bone Meal (optional)
- Calendar or spreadsheet to record seeding dates and varieties
- Trays without holes (to put the pots in)
- Solo cups (to use as pots) I punch holes in the bottom to allow for drainage
- Gloves (optional)
- Hori Hori Knife (optional)
- Clear plastic domes (not shown) to put on top of the trays to make a greenhouse effect
- Seedling heat mat (optional)
Instructions
- Fill the Solo cups to the brim with your homemade seed starting mix (remember to ensure the soil is moist).
- Poke a hole in the soil about 5mm-1cm (¼-½”) deep.
- Drop one pepper seed in the hole.
- Pinch soil to cover the seed.
- Because we know that the germination rate is 65% for this pepper seed, we will plant double the number of plants we need. For me, I want to end up with 6 jalapenos, 6 red, and 6 orange. So I planted 12 of each for a total of 36 pepper plants. If I end up with too many, that’s ok. I can give them as gifts to my friends who didn’t get their peppers planted early enough.
- Water the seeds. I use an old dish soap bottle for watering my seedlings.
- Keep soil as warm as possible. I use a seedling heating mat to warm the soil as it speeds germination. As per the package instructions, try to keep seedlings at 18-24°C (64-75°F) in the day, and 16-18°C (61-64°F) at night.
- Pour some water in the bottom of the tray. This is how you will water the plants from now on. From the bottom, not the top.
- Cover with the clear plastic dome. This helps retain moisture and heat.
- Go record the date and the varieties you planted today.